![]()
It’s been quite a week: a lot of adjusting, getting used to new routines, jumping back into the academic lifestyle. That’s a lot going on, unfortunately meaning I’ve had less time for creative endeavors. Of course, that doesn’t mean I haven’t dedicated any time to some little projects, but all are unfinished as of yet. Every time I was thinking about what to write, I kept coming up empty staring at a blank document on my laptop. It wasn’t until I was sitting in a class where laptops aren’t allowed, bored out of my mind, with nothing but paper and a pen to pass the time, that an idea came to mind. I happened to be wearing a t-shirt on which I screen-printed. That seems as good a topic as any so I put pen to paper, quite literally, and started.
Screen-printing 101. What is it? How is it done? What do you need? Screen-printing is a method of adding a design onto a surface (fabric, paper, etc.) by pushing ink through a mesh screen. It involves creating a stencil on the screen (with vinyl, photo emulsion, paper), lining it up where you want your design printed, then spreading the ink over the stencil with the use of a squeegee. There are lots of tutorials out there if you want to try this out and some great starter kits (I’ve used the ones by Speedball, not an endorsement of any kind) that contain everything you need. So if you want to learn more, you definitely can, but that’s neither here nor there.
How did I get into screen-printing, you might ask. Well ok so, two years ago I organized a team of sorts, and what does any good team have? Matching shirts, obviously. Ordering custom shirts was way out of anyone’s budget so the reasonable route was to figure out a way to make them myself. Researching methods I came across heat-transfer vinyl (HTV), which I’ll circle back to eventually, and screen-printing. The issue then was that screen printing has a lot of upfront cost for the equipment. Actually it isn’t that much, especially if you use a kit, again not an endorsement. But it is more complicated to get right on the first try, steeper learning curve one might say. Also there is large equipment, in the ways of a frame, that doesn’t lend well to the cramped style of dorm living. So for that project I went the HTV route.
Naturally since learning about it, I was itching to try it out. Then last spring I was asked to make a number of t-shirts. Not from scratch, but since this is about screen-printing, I’m sure you get what I mean. It was the perfect opportunity. I gathered all the supplies and decided to make my stencil using photo emulsion. This was my first mistake. In case you don’t know, photo emulsion is a process which in a few words involves making a stencil out of a light sensitive liquid, I think. Don’t quote me on that. (Upon researching, Google does seem to support my description.) In a lot of words and commas, you pour liquid over the screen, dry it, put the design printed in black over the screen, shine a light on it for some amount of time, the liquid hardens except under the image, rinse out the excess, let dry, screen-print. It seems simple enough, and it’s definitely a cool process, but it was a bit more complicated in practice. It didn’t help that the design I was dealing with had many thin lines. For my first attempt at screen-printing, this was probably not the best way to go about it. As you may have guessed, I fell back to HTV once again.
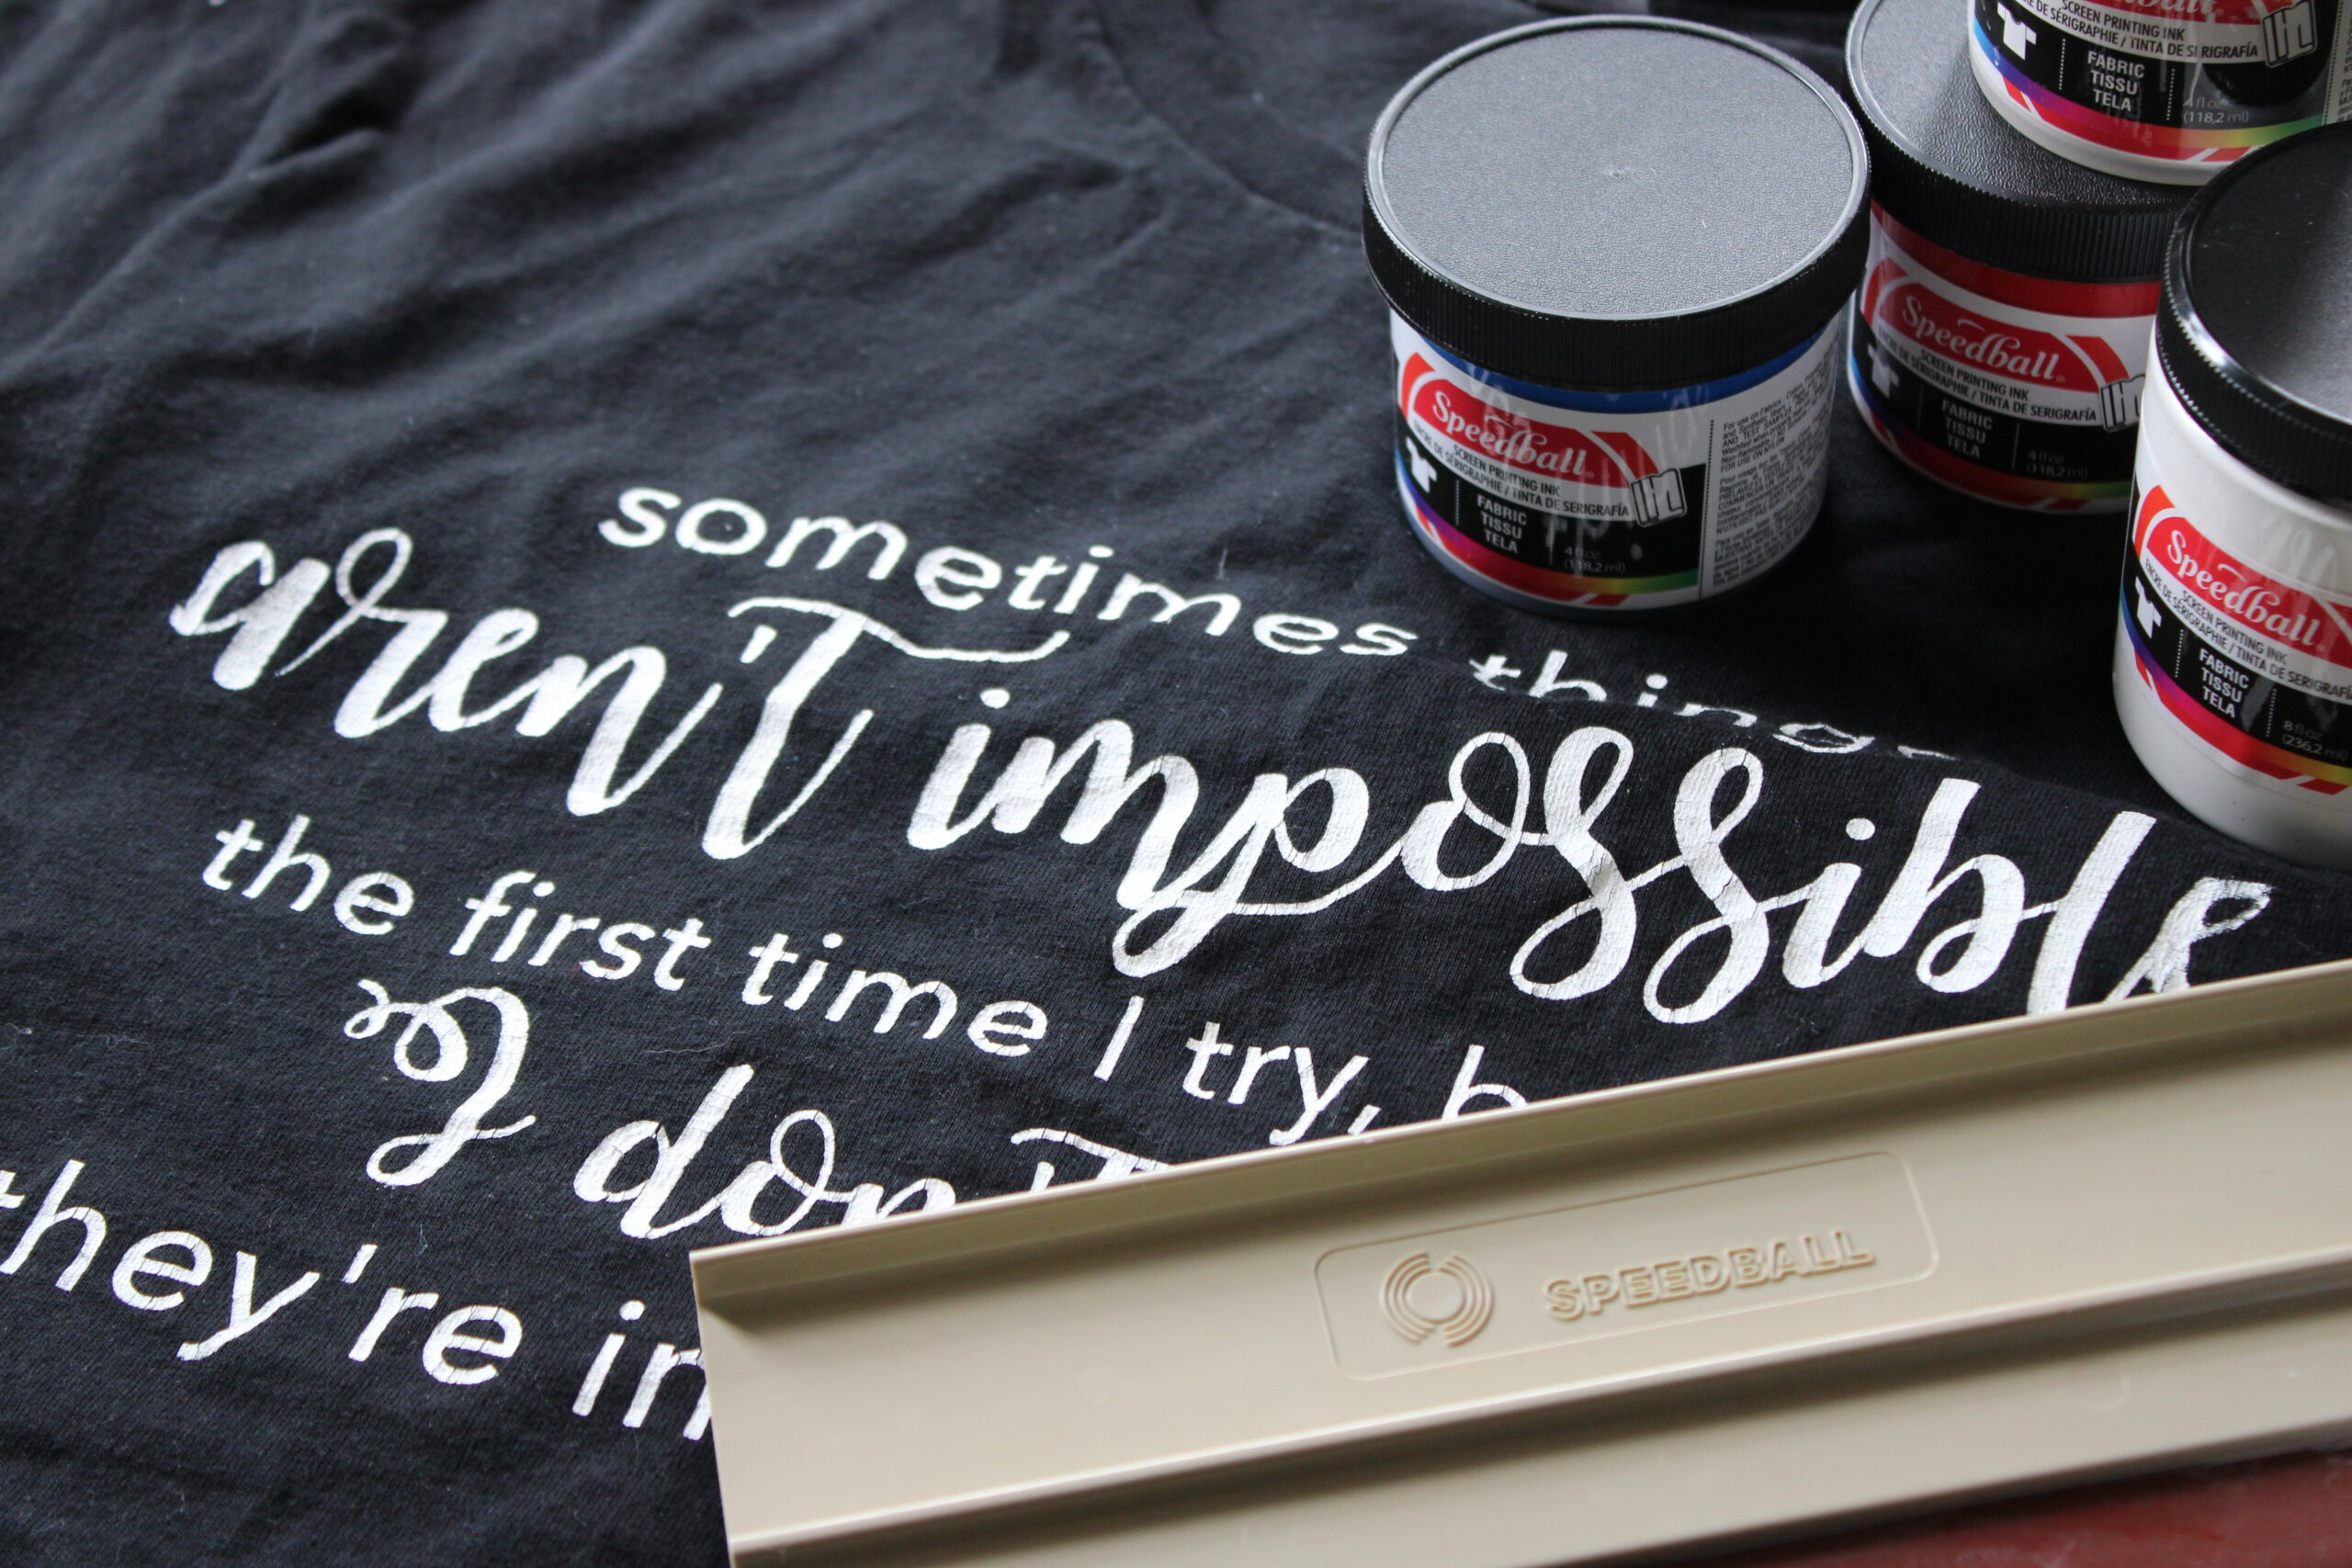
Flash forward to last month. Another task for some shirts came my way. One thing to note, screen-printing is a good option when you have a large batch, since you can reuse your stencil until you are done with your stack. This was a decently sized order, so I knew if I finally pulled off a screen-print it would be game-changing. I pulled out all my materials. I found a leftover shirt from a previous project. I picked an amusingly confusing quote from Ever After High. Since the photo emulsion didn’t go all too well the last time, I wasn’t quite ready to try that again. Instead I set up my cricut to cut out my design on permanent vinyl. Apparently this is another common way to make a screen-print stencil and, let me tell you, so much easier than the emulsion. I cut out the stencil, stuck it on the back of the screen, and pushed the ink over it. The moment of truth came when I pulled the screen off the fabric. I cured the ink with an iron, though not very well I realized after the paint cracked a little a lot after washing. Still I claimed the win.
Oh and in case you were wondering, the shirt batch came out alright too. Also writing a whole post on paper to then transfer to typed might become my usual if this class doesn’t improve. I apologize if this wasn’t the history of screen-printing that you may have expected.
My equivalent of a works cited:
– Written guide to screen-printing.
– Short video guides to screen-printing.
– Reddit thread on curing ink.
– Speedball kit I used to get started.